Taking clear, non-blurry photos can be a real challenge. Especially when you’re trying to capture someone like Bashid McLean in action. italicsWhy does it matter?* You want those moments to look as sharp and vivid as possible.
I’ve been there, fumbling with my camera settings, only to end up with a blurry mess. It’s frustrating. But don’t worry, I’ve got some tips that can help.
This guide is based on professional techniques and advice from experienced photographers. So, you can trust that these methods work.
Let’s dive into how you can get bashid mclean photo no blur every time.
Understanding Camera Settings for Sharp Photos
I remember the first time I tried to take a photo of my dog running in the park. The image was so blurry, it looked like a ghost. That’s when I learned about shutter speed.
Shutter speed is all about how long your camera’s sensor is exposed to light. If you’re shooting fast-moving subjects, you need a faster shutter speed to freeze the action and prevent blur.
Aperture is another key setting. It controls the depth of field, which is how much of your photo is in focus. A wide aperture (small f-number) gives you a shallow depth of field, making the background blurry.
This can be great for portraits. A narrow aperture (large f-number) keeps more of the scene in focus, which is perfect for landscapes.
ISO is crucial in low-light conditions. It adjusts the sensitivity of your camera’s sensor. Higher ISO settings let you shoot in darker environments, but they can also introduce noise, making your photos look grainy.
Finding the right balance is key.
The exposure triangle—shutter speed, aperture, and ISO—works together to create a balanced exposure. Adjusting one affects the others. For example, if you increase the shutter speed, you might need to open up the aperture or raise the ISO to keep the exposure correct.
bashid mclean photo no blur
Understanding these settings can make a huge difference. Next time you’re out shooting, experiment with different combinations. You’ll be amazed at how much sharper and more professional your photos can look.
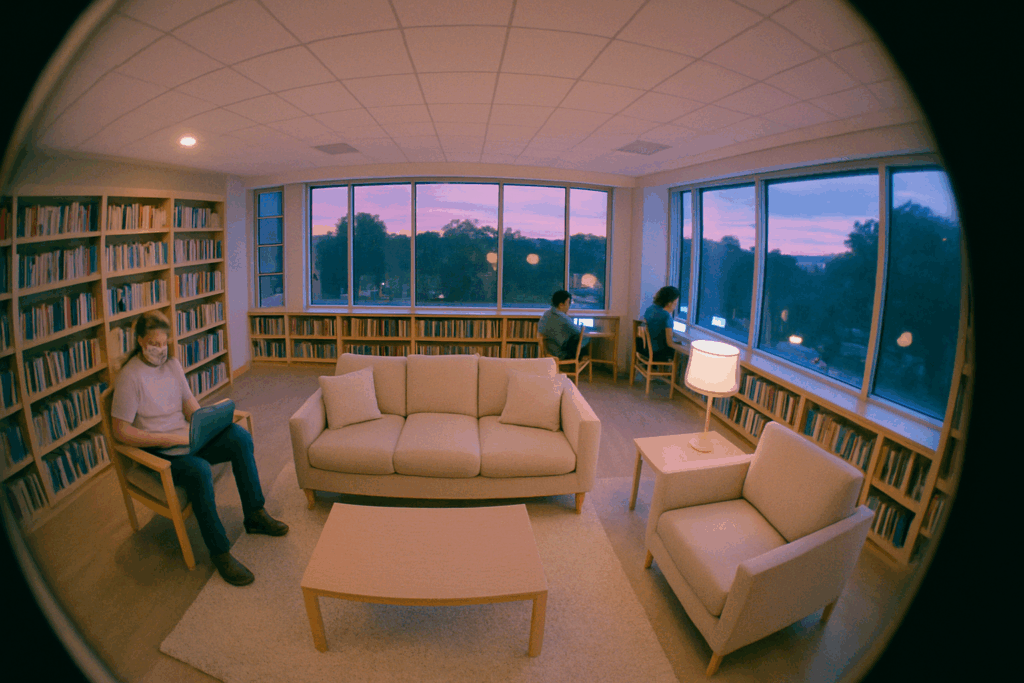
Stabilization Techniques for Clear Photos
Taking clear, sharp photos can be a real challenge, especially in low light. I’ve been there, and trust me, it’s frustrating. One of the best tools in your arsenal is a tripod.
A tripod is a game-changer. It keeps your camera rock steady, which is crucial when you’re dealing with long exposures or shooting in dim conditions. Plus, it lets you focus on composition without worrying about shake.
But not everyone wants to lug a tripod around. That’s where image stabilization comes in. Modern cameras and lenses have built-in stabilization features that can make a huge difference.
Turn on in-camera stabilization if you have it. For lenses, make sure the stabilization is on too. This combo can help you get sharper shots even when you’re hand-holding the camera.
Hand-holding the camera? There are still ways to keep things steady. Use your body as a support.
Tuck your elbows in, and brace the camera against your face.
Breathing control is another key. Take a deep breath, hold it, and then press the shutter. It might sound silly, but it works.
And don’t forget, practice makes perfect. The more you shoot, the better you’ll get at keeping your shots stable. Bashid mclean photo no blur is a great example of how these techniques can really pay off.
Focusing Techniques for Sharp Images
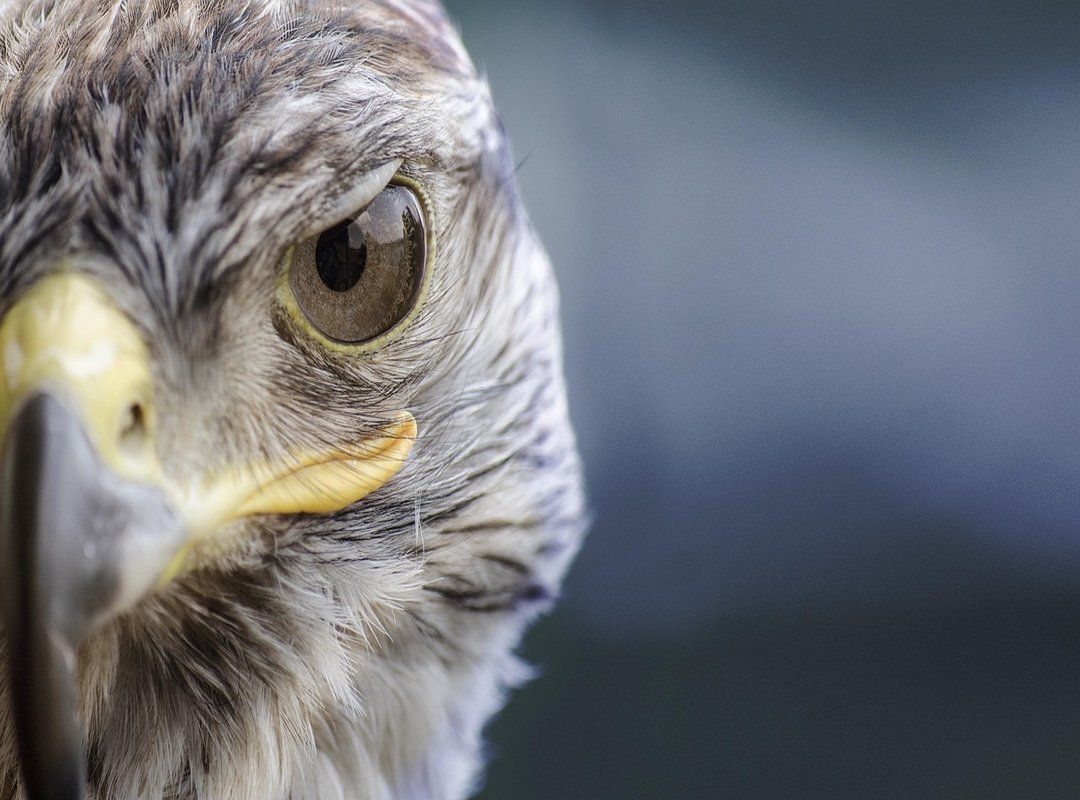
Autofocus Modes: Understanding different autofocus modes (e.g., single-point, continuous) and when to use them. Single-point autofocus is great for still subjects, like a flower or a portrait. Continuous autofocus, on the other hand, is perfect for moving subjects, like a running dog or a soccer game. bashid mclean photo no blur
Manual Focus: When and how to use manual focus for precise control over the focal point. Sometimes, you just need that extra bit of control. Manual focus lets you fine-tune the sharpness, especially in low light or when your subject has a lot of similar textures.
Focus Lock: How to lock focus on a subject and recompose the shot for better composition. This technique is super useful. Just press the shutter button halfway to lock the focus, then move the camera to frame your shot.
It’s a simple trick that can make a big difference.
Now, let’s talk about the future. I think we’ll see more cameras with advanced AI-driven autofocus systems. These systems will be able to predict and track movement even better, making it easier to get those sharp, in-focus shots.
(Imagine never missing a moment again!)
Bashid McLean photo no blur is a great example of what you can achieve with these techniques. The clarity and sharpness in his photos are a testament to mastering these focusing methods.
As technology evolves, I also predict that manual focus will become more intuitive. Maybe we’ll see features like augmented reality overlays to help you nail that perfect focus. (Just a thought, but it’s exciting to imagine.)
So, keep an eye on these trends. They might just change the way you take photos.
Lighting and Exposure for Clear Photos
Natural light can make or break a photo. The golden hour, right after sunrise or before sunset, gives you that soft, warm glow. It’s perfect for portraits and landscapes.
Avoid the harsh midday sun. It creates unflattering shadows and overexposes your shots. If you must shoot at midday, find some shade or use a diffuser.
Artificial light is your friend when natural light isn’t available. Flash can be tricky, but it doesn’t have to be. Bounce the flash off a ceiling or wall to soften the light.
This avoids the harsh, direct flash look.
Use other artificial light sources like lamps or LED panels. They give you more control over the direction and intensity of the light. Experiment with different angles to see what works best for your subject.
Exposure compensation is a game-changer. It lets you adjust the exposure to get the right balance. If your subject is too dark, bump up the exposure.
If it’s too bright, bring it down.
Pro tip: Take a few test shots and review them on your camera. Adjust as needed until you get it just right.
CAPS: Always check your camera’s histogram. It shows if your image is overexposed or underexposed. A well-exposed photo has a balanced histogram, not bunched up on one side.
Bashid mclean photo no blur is a great example of how proper lighting and exposure can make a difference. The subject is clear, and the details are sharp.
Mastering Clear, Non-Blurry Photos
Recap the key points covered, including camera settings, stabilization, focusing, and lighting. These elements are crucial for achieving sharp, clear images.
By following these tips and techniques, you can consistently capture bashid mclean photo no blur.
Encourage readers to practice and experiment with different settings and techniques to improve their photography skills.
 Williams Unruhandieser is the kind of writer who genuinely cannot publish something without checking it twice. Maybe three times. They came to home efficiency hacks through years of hands-on work rather than theory, which means the things they writes about — Home Efficiency Hacks, Interior Design Styles and Trends, Living Space Concepts and Innovations, among other areas — are things they has actually tested, questioned, and revised opinions on more than once.
That shows in the work. Williams's pieces tend to go a level deeper than most. Not in a way that becomes unreadable, but in a way that makes you realize you'd been missing something important. They has a habit of finding the detail that everybody else glosses over and making it the center of the story — which sounds simple, but takes a rare combination of curiosity and patience to pull off consistently. The writing never feels rushed. It feels like someone who sat with the subject long enough to actually understand it.
Outside of specific topics, what Williams cares about most is whether the reader walks away with something useful. Not impressed. Not entertained. Useful. That's a harder bar to clear than it sounds, and they clears it more often than not — which is why readers tend to remember Williams's articles long after they've forgotten the headline.
Williams Unruhandieser is the kind of writer who genuinely cannot publish something without checking it twice. Maybe three times. They came to home efficiency hacks through years of hands-on work rather than theory, which means the things they writes about — Home Efficiency Hacks, Interior Design Styles and Trends, Living Space Concepts and Innovations, among other areas — are things they has actually tested, questioned, and revised opinions on more than once.
That shows in the work. Williams's pieces tend to go a level deeper than most. Not in a way that becomes unreadable, but in a way that makes you realize you'd been missing something important. They has a habit of finding the detail that everybody else glosses over and making it the center of the story — which sounds simple, but takes a rare combination of curiosity and patience to pull off consistently. The writing never feels rushed. It feels like someone who sat with the subject long enough to actually understand it.
Outside of specific topics, what Williams cares about most is whether the reader walks away with something useful. Not impressed. Not entertained. Useful. That's a harder bar to clear than it sounds, and they clears it more often than not — which is why readers tend to remember Williams's articles long after they've forgotten the headline.